Fortunately, Xiaomi is among the very few devices that still actively have the support of this recovery, which definitely makes the life of tech enthusiasts quite easy since they could now easily flash the desired ZIP without the need for the PC and more importantly could take a backup of the desired partition or even the entire Nandroid Backup. So with such a plethora of benefits involved, let’s make you aware of the steps to install the TWRP Recovery on your Poco F4 right away.
How to Install TWRP Recovery on Poco F4 [Video]
The below instructions are listed under separate sections for ease of understanding. Make sure to follow in the exact same sequence as mentioned. Droidwin and its members wouldn’t be held responsible in case of a thermonuclear war, your alarm doesn’t wake you up, or if anything happens to your device and data by performing the below steps. NOTE: There exist two different methods to flash the TWRP Recovery onto Poco F4, as shown in STEP 7A and STEP 7B. Steps 1 to 6 are the prerequisites that are needed for both these methods. Moreover, you should never directly flash the TWRP, instead first temporarily boot your device to TWRP and then permanently install it.
STEP 1: Install Android SDK
First and foremost, you will have to install the Android SDK Platform Tools on your PC. This is the official ADB and Fastboot binary provided by Google and is the only recommended one. So download it and then extract it to any convenient location on your PC. Doing so will give you the platform-tools folder, which will be used throughout this guide to install the TWRP Recovery on Poco F4.
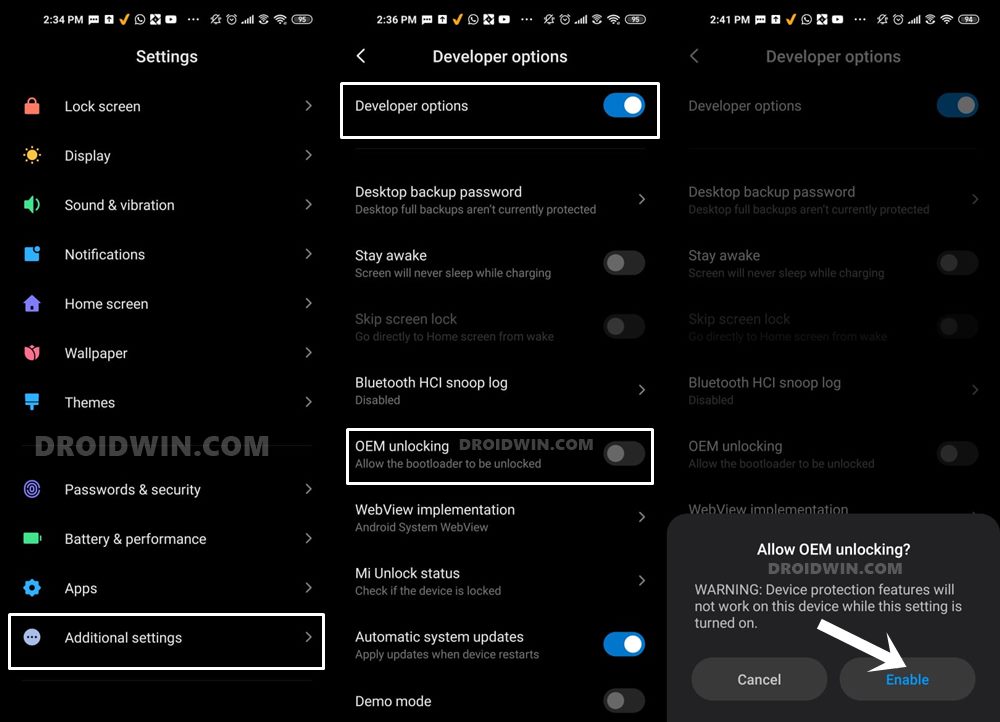
STEP 2: Enable USB Debugging and OEM Unlocking
Next up, you will also have to enable USB Debugging and OEM Unlocking on your device. The former will make your device recognizable by the PC in ADB mode. This will then allow you to boot your device to Fastboot Mode. On the other hand, OEM Unlocking is required to carry out the bootloader unlocking process.
So head over to Settings > About Phone > Tap on Build Number 7 times > Go back to Settings > System > Advanced > Developer Options > Enable USB Debugging and OEM Unlocking.
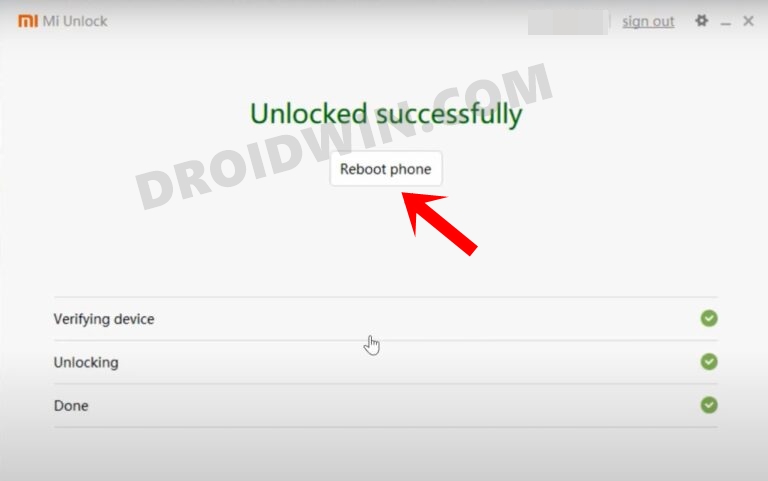
STEP 3: Unlock Bootloader on Poco F4
Next up, you will also have to unlock the device’s bootloader. Do keep in mind that doing so will wipe off all the data from your device and could nullify its warranty as well. So if that’s all well and good, then please refer to our detailed guide on How to Unlock Bootloader on any Xiaomi Device.
STEP 4: Download TWRP Recovery for Poco F4
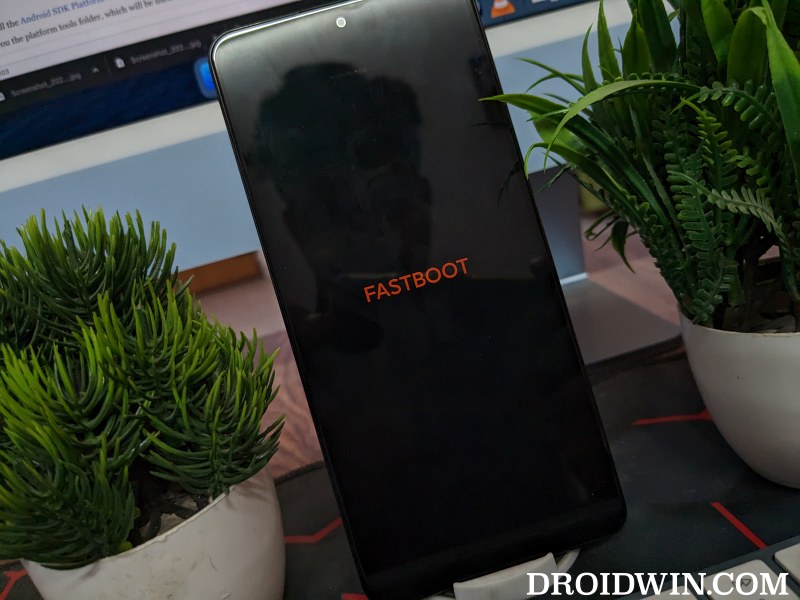
STEP 5: Boot to Fastboot Mode
STEP 6: Temporary Boot Poco F4 to TWRP Recovery
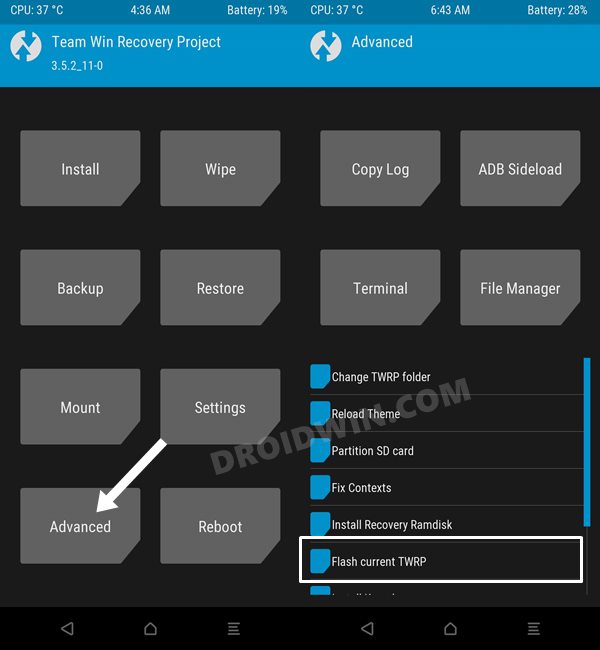
STEP 7A: Permanently Install TWRP via Flash Current TWRP
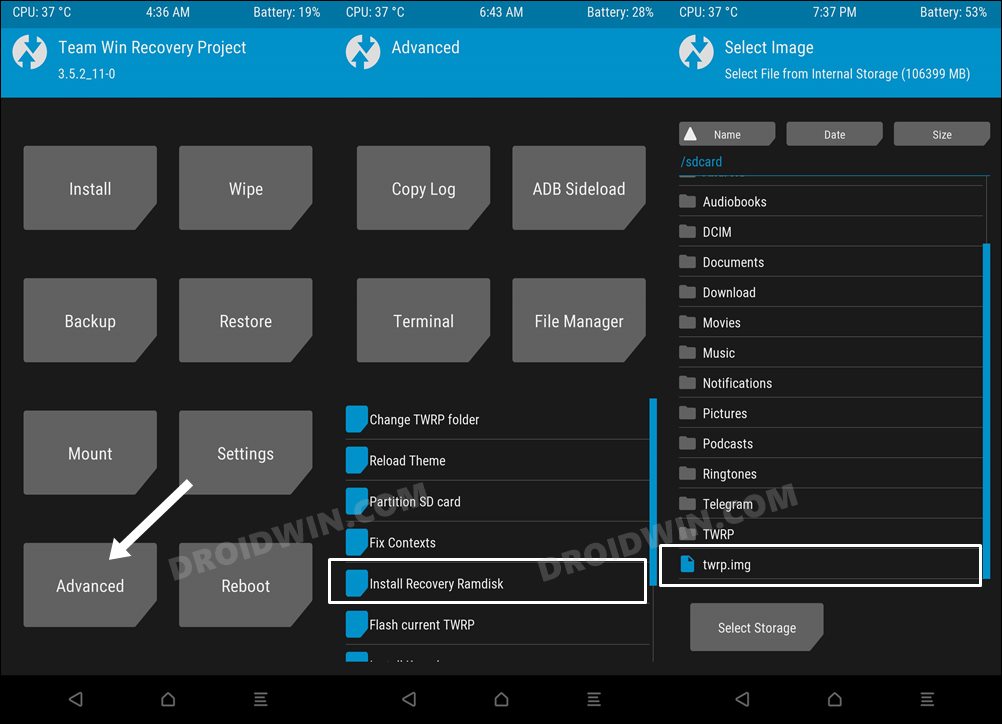
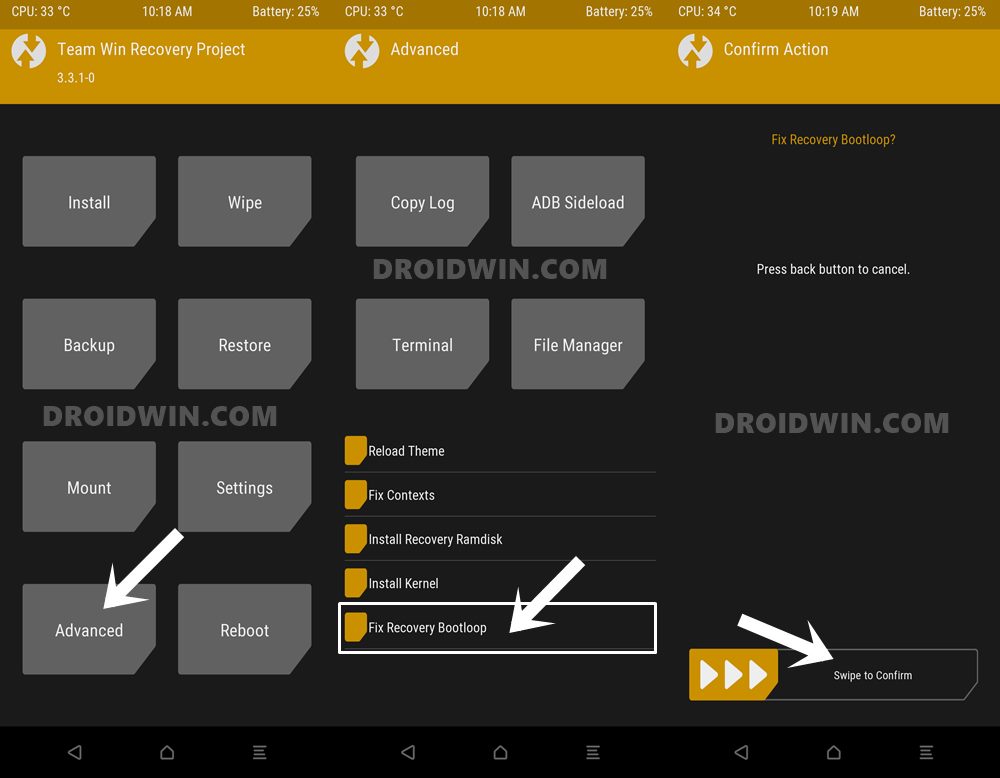
STEP 7B: Permanently Install TWRP via Install Recovery Ramdisk
That’s it. These were the steps to install the TWRP Recovery onto your Poco F4. If you have any queries concerning the aforementioned steps, do let us know in the comments. We will get back to you with a solution at the earliest.
How to Flash Xiaomi Fastboot ROM without Mi Flash ToolUnbrick Redmi Note 10 Pro/Pro Max via Fastboot CommandsHow to Install TWRP Recovery via Xiaomi ADB Fastboot ToolsWhat is Xiaomi EU ROM | How to Flash Xiaomi EU ROMForce 120Hz Refresh Rate in any Android via ADB Commands
About Chief Editor